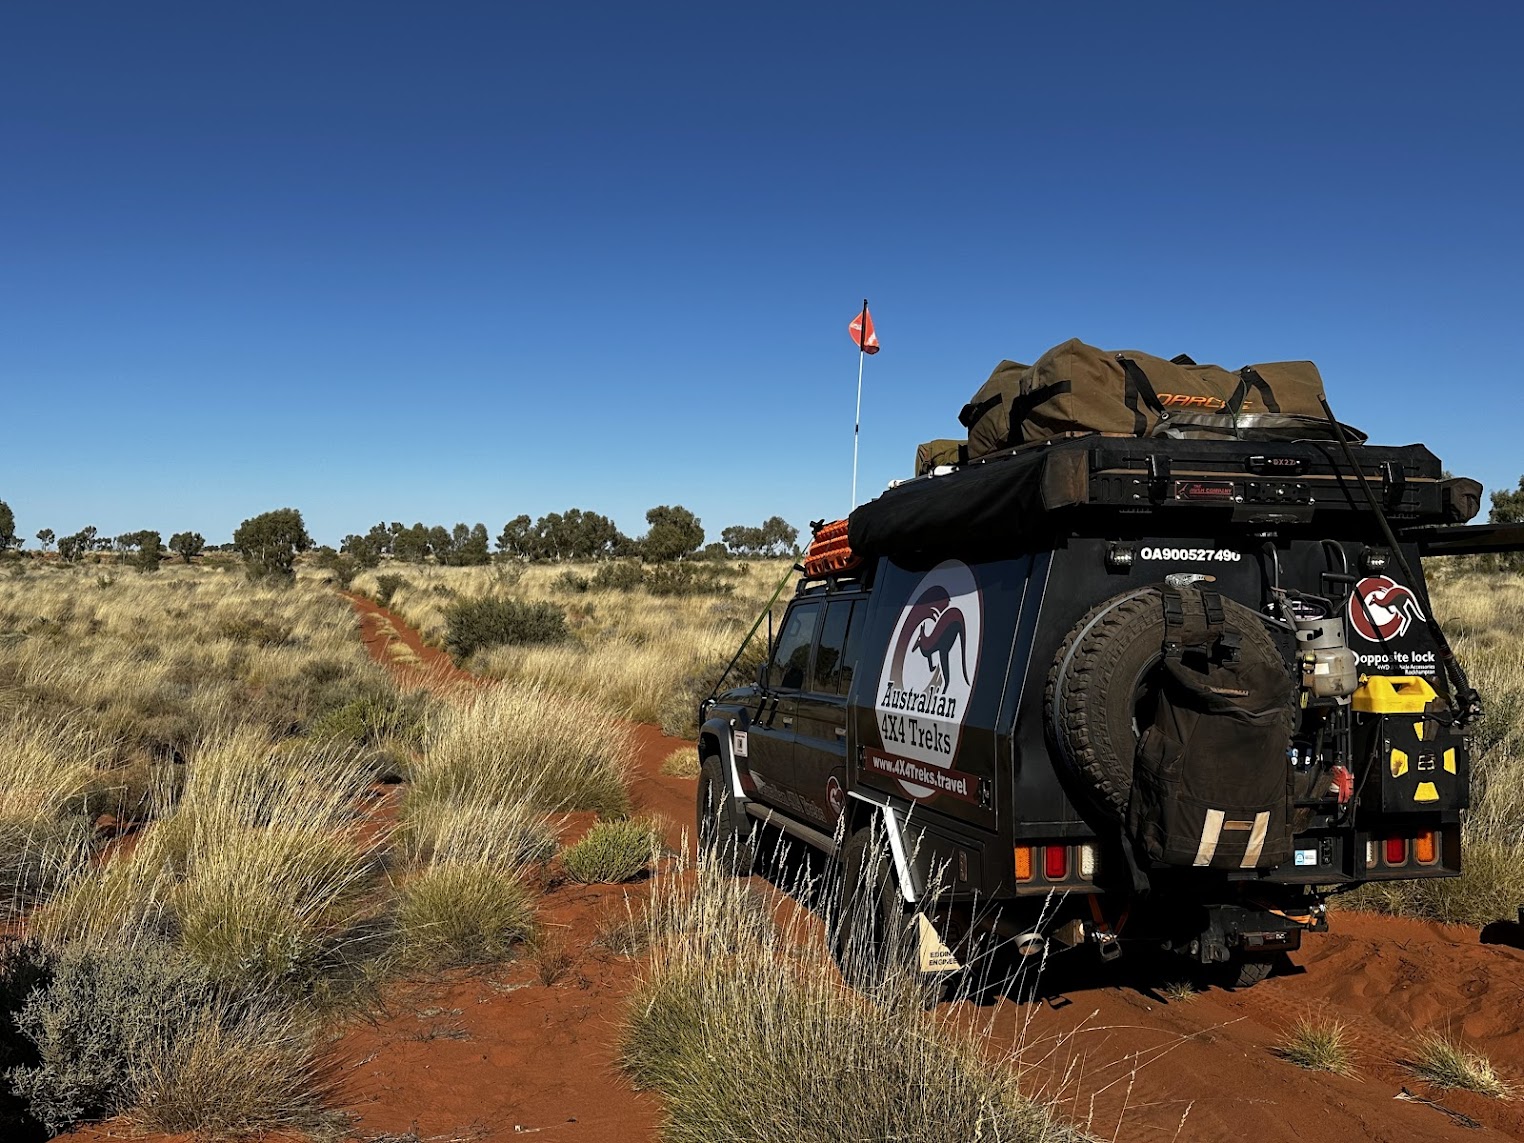
I'm often asked by my tour customers about what upgrades and gear they should get before going away on an extended trip.
So here’s my first 10 tips worth:
1. Upgraded Suspension. First of all you have to understand that a standard 4X4 vehicle is not suitable for extended periods of dirt road or off-road driving. Extensive Outback road driving on corrugations for days on end, for example, is a sure-fire way to destroy your suspension. Even brand new vehicles are not fitted with suspension components that will withstand the rigors of the Outback.
Solution: Upgrade to heavy duty shocks and springs. This will usually give your vehicle about a 2 inch body lift as well, giving it better clearance in rough terrain. The type of suspension you get should be matched to the weight you intend to carry. This is a bit of a trade-off between what you carry fully loaded for touring and unloaded around town.
Heavy duty shocks and springs are designed to withstand the punishment dished out on lengthy overland trips.
2. Decent tyres. There’s no point having all the other mods if you’re going to drive off-road on passenger (P) rated road tyres. They just don’t cut it. The sidewalls of P-rated tyres are as soft as butter and a sharp rock or stick will tear a big hole in them. Go for a reputable brand of Light Truck (LT) construction tyre and these will take you most places without dramas.
3. Bullbar. The amount of times people have told me “I don’t need a bullbar” is quite incredible. My answer is simply that if you hit a roo or an emu (I call them “Suicide Chickens”) and it puts a hole in your radiator, then you’re off the road until you get it fixed. Not the easiest prospect when you are 500kms from the nearest mechanic. A bullbar will hopefully prevent this from happening. Yes, the bar might be damaged but at least you can hopefully still drive the vehicle.
4. Lights. “I’m not going to drive at night.” Usually the reaction from the people without the bullbar, but sometimes even those with one. My rationale is that if you do end up driving at night, then it might be an emergency situation or just that you got sidetracked. The risk of hitting an animal at night is greatly increased. Worse still, the risk of swerving to avoid hitting an animal and then hitting a tree is greatly increased. LED spotlights and lightbars are incredible these days and also not that expensive.
5. Comms. Now you’ve got that flash bullbar, it’s a great place to mount a UHF aerial. Get a radio and aerial installed by a professional, then you know it’s going to work properly. Bad comms on a group trip is frustrating. You want everyone to hear what’s going on - "oncoming road train", "cows on the road", "left turn ahead", that kind of thing.
The aerial should be the big "broomstick" kind, with the great big spring at the bottom. About a metre in length is fine. This kind of aerial will not fall to pieces on corrugations like the more flimsy ones.
Along with comms goes sat phones, PLBs, trackers and 2-way satellite texting devices. I used a Spot 3 for years all over Australia and while it’s great for people to keep track of you, it is very limited in what it can do. The new generation Spot X or Garmin inReach are, in my opinion, far more useful than a sat phone. You can send and receive text messages, get weather forecasts, track your progress (and have someone back home track your progress on the internet) and alert the authorities if things take a turn for the worst.
Starlink has been a game-changer in the world of remote communications. It takes 5 mins for me to set up my Starlink Mini and have it connect to the outside World. You then have really fast internet almost everywhere you are (it doesn't like big trees or rocky canyons). Many people have Starlink permanently mounted on their roof, so it's always on, or at worst, they just have to turn it on, so it's incredibly quick.
6. Drawer System and Cargo Barrier. Being able to arrange your gear inside the vehicle in a well designed drawer system will make your whole touring experience more enjoyable. There are some cleverly designed systems that make great use of space. Find one that incorporates a fridge slide and a pull out bench so you don’t have to constantly move stuff from one side to the other to open another drawer, particularly if you have a wagon. Electrics in the wings are also a great idea. Light switches, chargers and a compressor can all be fitted in here.


FOLLOW US ON FACEBOOK & INSTAGRAM!